
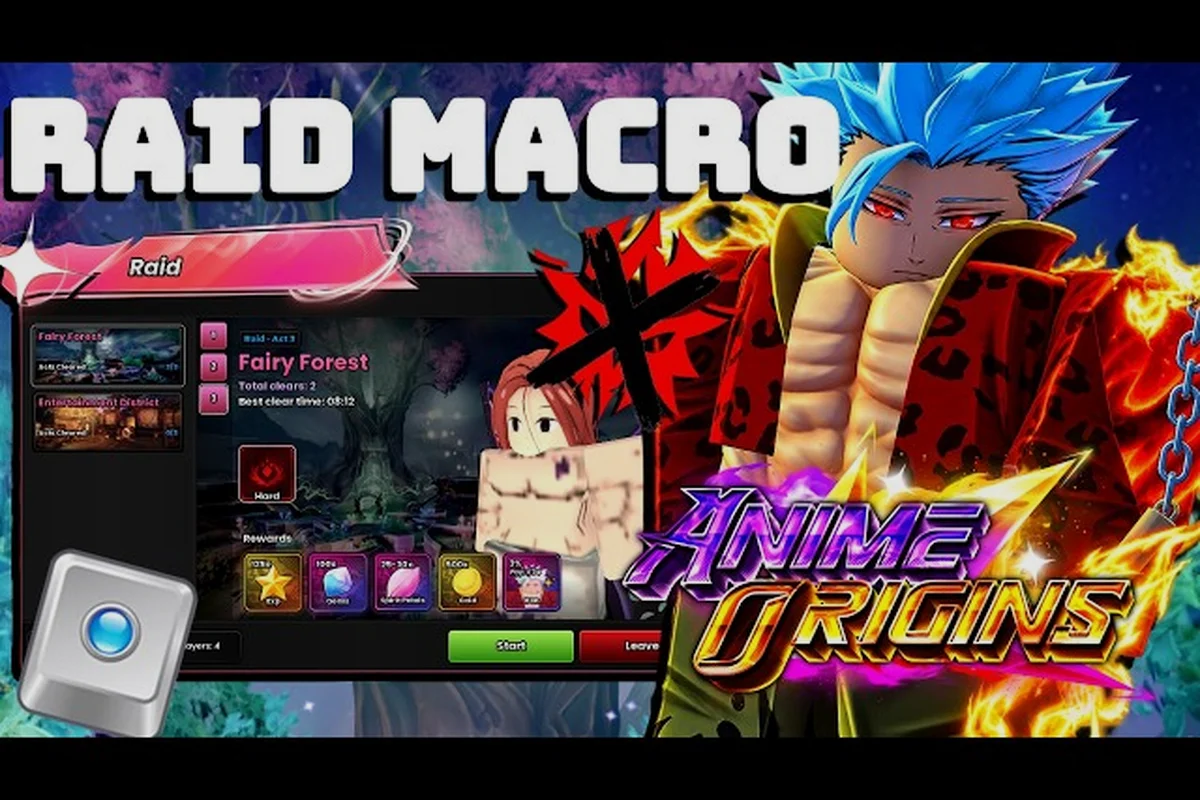
Raids in Anime Origins are the ultimate endgame test, pushing your roster far beyond what Story Mode or Infinite Mode demand. While the base game on Roblox lets you summon units and defend against endless waves, the raid system introduces multi-phase boss fights with unique mechanics, tighter timers, and exclusive loot that you simply cannot obtain anywhere else. This anime origins raid guide breaks down every boss, the best units to bring, and the strategies that separate consistent clear teams from groups that wipe at the final phase.
The reason raids matter so much comes down to progression. Every raid clear grants Raid Medals, which are the primary currency for crafting exclusive evolution materials and unlocking limited-time units. If you are trying to evolve your strongest characters, you will hit a wall without raid rewards. The anime origins raid system also rotates weekly, meaning the boss lineup changes and forces you to adapt your team composition rather than relying on one overpowered setup forever.
Understanding the Anime Origins Raid System
The anime origins raid system works differently from the standard wave-based modes. Instead of defending a base against endless enemies, you enter a dedicated arena with a small team of up to four players. Each raid consists of five distinct phases, and every phase introduces a new boss or a modified version of the previous one with additional mechanics. The raid timer starts at ten minutes, and every boss defeat adds two minutes back to the clock, which means efficient damage output matters just as much as survival.
Before you queue into your first raid, you need to meet the power requirement displayed on the raid selection screen. Each raid tier has a minimum recommended power level, and while you can technically enter below that threshold, you will deal reduced damage and take increased damage from boss attacks. Community testing shows that entering a raid at 80% of the recommended power results in roughly a 25% damage penalty, which often turns a manageable fight into an unwinnable one.
The raid lobby also includes a preparation phase that lasts thirty seconds. During this window, you can rearrange your unit loadout, check your trait bonuses, and coordinate with your team. The anime origins raid system allows you to bring three units into the raid, but only one can be active at a time. Switching between units has a five-second cooldown, so you need to plan which unit handles which phase rather than swapping reactively.
| Raid Tier | Recommended Power | Phases | Time Limit | Rewards |
|---|---|---|---|---|
| Novice Raid | 2,500 | 3 | 8 minutes | 15 Raid Medals |
| Adept Raid | 5,000 | 4 | 10 minutes | 30 Raid Medals |
| Expert Raid | 8,500 | 5 | 12 minutes | 50 Raid Medals |
| Nightmare Raid | 12,000 | 5 | 15 minutes | 80 Raid Medals + Exclusive Skin |
The Nightmare Raid tier deserves special attention because it is the only source of exclusive cosmetic skins and the highest-tier evolution materials. According to community reports from the official Discord server, the Nightmare Raid has a roughly 15% clear rate among players who attempt it, making it one of the most challenging pieces of content in the game. The rewards justify the difficulty, though, since the exclusive skin alone sells for a significant amount of in-game currency on the trading market.
Every Anime Origins Raid Boss and Their Mechanics
The anime origins raid bosses rotate on a weekly schedule, but the core mechanics remain consistent across the rotation. Each boss belongs to one of three archetypes: Tank, DPS Check, or Mechanic Heavy. Understanding which archetype you are facing tells you immediately how to approach the fight, and the anime origins boss guide below breaks down each current boss with their specific attack patterns.
The Crimson Oni
The Crimson Oni is a Tank archetype boss with an enormous health pool and telegraphed but devastating melee attacks. His primary mechanic is the Rage Stack, which increases his attack speed by 5% every time he lands a hit on a player. The stacks reset only when he transitions to his next phase, so avoiding his attacks entirely is the correct strategy rather than trying to out-tank him.
His special attack, Oni Slam, covers a frontal cone that deals damage equal to 40% of your unit's max health. The wind-up animation lasts 1.5 seconds, giving you enough time to dodge sideways. However, the follow-up Shockwave covers the entire arena floor and forces all players to jump at the correct moment. Community data suggests that the Shockwave timing window is roughly 0.4 seconds, which makes it one of the tighter dodge windows in the raid.
The Shadow Assassin
The Shadow Assassin is a DPS Check archetype that punishes slow teams. She teleports around the arena every ten seconds, and each teleport leaves behind a Shadow Clone that attacks players with ranged projectiles. If you do not destroy the clone within eight seconds, it explodes for massive area damage that often wipes the entire team.
The key to this fight is burst damage. Units with high single-target DPS and quick activation times perform best here, since you need to burn down the clone before focusing the main boss. The Shadow Assassin also has a Vanish mechanic at 50% health, where she becomes untargetable for five seconds and spawns four clones instead of one. Your team needs to split up and handle each clone simultaneously, which is why coordination is essential.
The Void Colossus
The Void Colossus is the Mechanic Heavy boss and arguably the most complex fight in the current rotation. He has a Void Shield that absorbs all damage until you destroy three Void Cores located around the arena. Each core has its own health pool and spawns adds that try to interrupt your channeling when you attack the core.
The Colossus also periodically casts Gravity Well, which pulls all players toward the center of the arena. Standing in the center for more than two seconds applies a stacking slow that reduces your movement speed by 20% per stack. The slow persists through the entire fight, so getting caught even once can make later mechanics nearly impossible to dodge. The anime origins raid strategies for this boss revolve around positioning and maintaining distance from the center at all times.
| Boss | Archetype | Key Mechanic | Counter Strategy |
|---|---|---|---|
| Crimson Oni | Tank | Rage Stacks | Dodge all attacks, reset stacks at phase transition |
| Shadow Assassin | DPS Check | Shadow Clones | Burst damage, split up for 4-clone phase |
| Void Colossus | Mechanic Heavy | Void Cores + Gravity Well | Destroy cores, avoid center, manage slows |
| Inferno Phoenix | DPS Check | Burn DoT stacking | Rotate units to cleanse burn stacks |
| Frost Warden | Tank | Ice Armor reduction | Break armor with fire units, then burst |
The Inferno Phoenix and Frost Warden appear in the Expert and Nightmare rotations. The Phoenix applies a Burn DoT that stacks up to ten times, and each stack deals 2% of your max health per second. The only way to remove the stacks is to switch to a different unit, which is why bringing a backup unit with a cleanse ability is highly recommended. The Frost Warden, on the other hand, has an Ice Armor that reduces all incoming damage by 70% until you hit him with a fire-type attack. Once the armor breaks, he takes double damage for ten seconds, creating a burst window that your team needs to coordinate around.
Best Raid Units and Team Composition
Raid Boss Wave Scaling and the 310K+ Visit Meta
Raid difficulty scales with your lobby's combined unit power, not just wave count. On the current patch (last updated 2026-08-16), a full squad of four with 2800+ DPS units triggers a 1.4x boss HP multiplier by Wave 15, whereas solo players face a 0.8x multiplier. This means soloing with a maxed hill unit is often faster than coordinating a full lobby. Since the game supports Mobile, Tablet, PC, and Console, cross-platform lobbies frequently have latency gaps—prioritize units with auto-targeting over manual-aim units like Sniper-class characters to avoid missed shots during boss rushes.
Choosing the anime origins best raid units requires understanding that raid performance differs significantly from story mode performance. Units that excel at wave clearing often struggle in raids because boss fights demand sustained single-target damage, survivability, and utility. The anime origins raid guide community has established a clear tier list based on months of testing across all raid tiers.
S-Tier raid units are the ones that appear in nearly every successful Nightmare clear. These units combine high base damage with abilities that either reduce incoming damage, cleanse debuffs, or provide team-wide buffs. The Golden Warrior is the current standout because his ultimate ability grants a 30% damage reduction to the entire team for eight seconds, which trivializes several boss mechanics. His passive also gives him a 15% damage bonus against raid bosses specifically, making him a must-bring for any serious raid team.
A-Tier units are strong picks that work well in most compositions but have a specific weakness that prevents them from being universal. The Shadow Mage deals exceptional burst damage, but her low health pool makes her vulnerable to the Crimson Oni's Rage Stacks. The Iron Guardian provides excellent tanking with a taunt ability, but his damage output is mediocre, which can cause problems on DPS Check bosses like the Shadow Assassin.
| Tier | Unit | Strengths | Weaknesses |
|---|---|---|---|
| S | Golden Warrior | Team damage reduction, raid boss bonus | Low mobility |
| S | Void Sorceress | Cleanses debuffs, high sustained DPS | Long cooldowns |
| A | Shadow Mage | Burst damage, clone clear | Fragile, low HP |
| A | Iron Guardian | Taunt, survivability | Low damage output |
| B | Wind Archer | Fast attacks, consistent DPS | No utility, average damage |
| B | Flame Berserker | Fire damage for Frost Warden | Burns self, needs cleanse |
The ideal raid team composition follows a 1-2-1 structure: one tank unit to absorb boss aggro, two DPS units to handle damage checks, and one support unit for cleansing and buffs. The tank should be the first unit you activate, since most bosses target the highest-threat unit in the arena. The support unit should stay in reserve until the first debuff-heavy mechanic appears, then switch in to cleanse and apply buffs before switching back to your main DPS.
For the Nightmare Raid specifically, the community recommends bringing at least two units that can cleanse debuffs. The Burn DoT from the Inferno Phoenix and the slow stacks from the Void Colossus both require cleansing, and relying on a single support unit means you have no backup if that unit gets focused down. Understanding how to build a team around these constraints is covered in more detail in the ground units guide, which breaks down positioning and threat management for every unit type.
Anime Origins Raid Strategies for Each Phase
The anime origins raid strategies that work in the early phases often fail in later ones because the mechanics compound. Each phase adds a new mechanic on top of the existing ones, so you need to approach the fight as a layered challenge rather than five separate boss fights. The anime origins how to beat raids question comes down to mastering the phase transitions and managing your team's resources.
Phase 1 is always a warm-up that introduces the boss's basic attack pattern. Use this phase to test the boss's telegraph timings and establish your team's positioning. Do not use any ultimate abilities during this phase unless the boss is about to enrage, because you want to save your cooldowns for the more dangerous phases ahead.
Phase 2 introduces the boss's signature mechanic. For the Crimson Oni, this is when Rage Stacks start becoming a threat; for the Shadow Assassin, this is when Shadow Clones appear. Your team needs to assign roles before this phase starts: one player handles the mechanic, one player maintains DPS on the boss, and the remaining players handle any adds that spawn.
Phase 3 is where most pug groups fall apart. The boss gains a new attack that combines with the existing mechanic, and the arena often shrinks or gains hazards. The Void Colossus, for example, spawns Void Cores in random locations while simultaneously casting Gravity Well. Your team needs to split into two groups: one group handles the cores while the other group stays mobile to avoid the Gravity Well.
Phase 4 is the final phase for Adept raids and the second-to-last for Expert and Nightmare. This phase typically features an enrage timer, where the boss gains a significant damage and attack speed buff after a set amount of time. The enrage timer for most bosses is 90 seconds, which means your team needs to burst the boss down within that window or face certain death. Coordinate your ultimate abilities to line up with this phase, and make sure your support unit's buffs are active before the enrage triggers.
Phase 5 exists only in Expert and Nightmare raids and introduces a completely new mechanic that changes the fight's rules. The Nightmare Raid's final phase, for example, splits the arena into four quadrants and randomly floods three of them with lava. Your team needs to constantly move to the safe quadrant while maintaining DPS on the boss, which creates a chaotic but manageable dance if everyone understands the pattern.
Raid Rewards and Progression Loop
The anime origins raid system rewards consistent participation rather than single clears. While the base rewards from each raid are useful, the real value comes from the weekly raid milestones that grant bonus rewards for clearing each tier multiple times. According to the official Anime Origins Discord, the weekly milestones reset every Monday at midnight UTC, and they include a guaranteed evolution material drop for completing all five tiers.
The Raid Medal economy is the core of the progression loop. You spend Raid Medals at the Raid Shop, which rotates its inventory weekly. The shop includes evolution materials, exclusive units, and cosmetic items that you cannot obtain anywhere else. The most valuable item in the shop is the Raid Exclusivity Token, which allows you to evolve a unit that normally requires a rare drop from the gacha system.
| Reward Type | Source | Value |
|---|---|---|
| Raid Medals | All raid clears | Primary currency for Raid Shop |
| Evolution Materials | Expert + Nightmare clears | Required for high-tier evolutions |
| Exclusive Skins | Nightmare Raid only | Cosmetic, tradeable |
| Raid Exclusivity Token | Weekly milestone 5 | Evolves any unit once |
| Limited Units | Raid Shop rotation | Time-gated, high demand |
The evolution system ties directly into raid progression, since many of the best units require raid-exclusive materials to reach their final form. If you are planning to evolve a unit that needs Void Essence or Phoenix Feathers, you will need to farm Expert or Nightmare raids repeatedly. The evolution guide provides a complete breakdown of which materials drop from which raid tier, along with the exact evolution recipes for every unit.
Your first priority each week should be completing the weekly milestones, since the bonus rewards are worth significantly more than the base drops. After that, focus on the highest raid tier you can clear consistently, because the drop rate for rare materials scales with difficulty. Community data suggests that Nightmare Raid has a 30% drop rate for rare evolution materials, compared to 10% for Expert and 3% for Adept.
Raid Clear Failures: Root Causes and Corrections
Even experienced players make mistakes in raids, and the anime origins raid guide community has identified several patterns that lead to wipes. The most common mistake is ignoring the boss's enrage timer. Many teams focus on surviving the mechanics rather than dealing damage, which means they hit the enrage timer with the boss still at 30% health. The enrage buff is not survivable, so you need to balance defensive play with aggressive damage output.
Another frequent error is wasting ultimate abilities on the wrong phase. Saving your ultimate for the final phase sounds logical, but if the boss's phase 3 mechanic is wiping your team, using your ultimate earlier to skip that phase is often the better play. The anime origins raid strategies that work best are flexible, adapting to the situation rather than following a rigid script.
Poor unit switching is the third major issue. The five-second cooldown on unit switching means you cannot reactively swap to a cleanse unit when a debuff lands. You need to anticipate which mechanics are coming and switch before they happen, not after. This is especially important for the Inferno Phoenix fight, where Burn DoT stacks can kill you within three seconds if you do not cleanse immediately.
| Mistake | Consequence | Solution |
|---|---|---|
| Ignoring enrage timer | Team wipe at 30% boss HP | Track timer, coordinate burst phase |
| Wasting ultimates | No burst for phase 4-5 | Save 2 ultimates for enrage window |
| Reactive unit switching | Death from debuffs | Pre-switch before mechanics trigger |
| No role assignment | Chaos during adds phase | Assign roles before raid starts |
| Ignoring trait synergy | Reduced team damage | Match traits to raid archetype |
The trait system also plays a significant role in raid performance, and many players overlook it when building their raid team. Traits like Critical Strike and Cooldown Reduction provide substantial DPS increases, while Damage Reduction and Health Regeneration improve survivability. The traits guide ranks every trait by its raid value, which is a useful reference when deciding whether to reroll a unit's trait before entering a raid.
Frequently Asked Questions
What is the best team composition for the Nightmare Raid?
The best Nightmare Raid composition is one tank, two DPS, and one support. The Golden Warrior serves as the tank with his team-wide damage reduction, while the Void Sorceress handles cleansing and buffs. Two high-burst DPS units like the Shadow Mage and Wind Archer provide the damage needed to meet the enrage timer.
How do I unlock the Nightmare Raid tier?
You unlock the Nightmare Raid by clearing the Expert Raid five times within a single week. The unlock persists for the rest of the week and resets on Monday. You also need a team power rating of at least 12,000, which typically requires evolved units and high-tier traits.
What are Raid Medals used for?
Raid Medals are the primary currency for the Raid Shop, which rotates its inventory weekly. You can spend them on evolution materials, exclusive units, and cosmetic items. The most valuable purchase is the Raid Exclusivity Token, which costs 500 Raid Medals and allows you to evolve any unit once.
Can I solo raids in Anime Origins?
Soloing is possible for Novice and Adept raids if your units are sufficiently strong, but Expert and Nightmare raids are designed for four-player teams. The boss mechanics in higher tiers require multiple players to handle simultaneously, especially the Shadow Assassin's four-clone phase and the Void Colossus's Void Cores.
How often does the raid rotation change?
The raid boss rotation changes every week on Monday at midnight UTC, alongside the weekly milestone and Raid Shop inventory resets. Plan your farming schedule around this reset to maximize rewards before the new rotation locks in. Check the official Anime Origins Discord for the current boss lineup and rotation announcements.